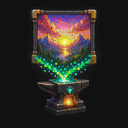
Logo: clean edges at 1×1
The MapKluss logo shows when disabling dithering preserves bold shapes and clean edges.
 MAPKLUSSMINECRAFT MAP ART WORKSHOP
Guide
If this is your first map-art project, the basic workflow is simple: start with an image, fit it to the Minecraft palette, choose map size, and decide whether you need 2D Flat or 3D Stair.
MapKluss covers that workflow in one place: preview, dithering, palette control, materials, and export. You do not need to stitch together multiple older tools and validate everything in-game.
The MapKluss logo shows when disabling dithering preserves bold shapes and clean edges.
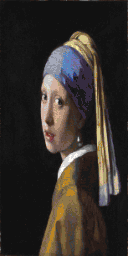
A vertical grid keeps the silhouette and face, while KlussDither softens transitions without losing the eyes or earring.
For a first project, 2D Flat is usually better because it is simpler to build and easier to read. 3D Stair is useful when you need more shades and are ready to manage height changes.
Often yes. This matters most for logos, photos, and more difficult color scenes. MapKluss lets you disable unwanted blocks and tune the result for a real build.
If you want a schematic for building, export Litematic. If you work directly with maps, use MAP.DAT. For build cost planning, use the materials list.